The Best Camera For Landscape Photography? How to choose and what to know.
In the world of landscape photography, the pursuit of capturing the grandeur and serenity of landscapes has always been an exciting adventure. Each frame immortalizes the majesty of nature's wonders, presenting them in ways that evoke awe and inspiration. However, this journey requires more than just a keen eye and passion; it demands the right tools, especially when it comes to selecting the perfect camera. In the ever-evolving landscape of technology, the year 2024 offers an array of options, each boasting advanced features and capabilities. But amidst this abundance, the importance of research and understanding one's photographic needs cannot be overstated. Before we dive into the cameras and what you should know before choosing, I want to impress upon you the importance of the “other things” that are often overlooked when someone decides to take landscape photography seriously.
Importance of Research: Before delving into the specifics of camera models, it's crucial to emphasize the significance of thorough research. In the realm of landscape photography, where every scene presents a unique set of challenges and opportunities, understanding the intricacies of your craft is paramount. Research allows photographers to gain insights into various aspects, such as the environmental conditions, lighting scenarios, and the desired aesthetic appeal. It empowers them to make informed decisions tailored to their specific preferences and shooting styles. Your camera is not going to make a difference in good vs. bad composition; it also can’t save you from overexposure or crappy focus. The best camera on the market won’t make you the best photographer, but that doesn’t mean having the right tools is a bad idea.
Knowing Your Terrain: One of the fundamental aspects of landscape photography is knowing the terrain you intend to explore. Whether it's the rugged peaks of mountains, the vast expanse of deserts, or the tranquil shores of oceans, each landscape offers distinct characteristics that influence the choice of camera equipment. For instance, capturing the intricate details of mountain ranges might require a camera with exceptional dynamic range and high-resolution capabilities to preserve the nuances of light and shadow. Conversely, photographing expansive desert landscapes might demand robust weather sealing to withstand the harsh environmental conditions. The good news is that pretty much all newer camera models have all these topics already checked off, so you won’t have to worry too much. 2024 landscape photography cameras are all pretty damn good, in my opinion, but some differences can be essential to know.
Understanding Lighting Conditions: Lighting plays a pivotal role in landscape photography, shaping the mood, atmosphere, and visual impact of the final image. From the soft glow of sunrise to the dramatic hues of sunset, each lighting scenario presents unique challenges and opportunities. Researching the typical lighting conditions of your chosen location enables you to select a camera that excels in capturing the nuances of natural light. Cameras with advanced sensor technology and sophisticated metering systems can deliver superior results in challenging lighting environments, ensuring optimal exposure and color accuracy. Again, 2024 landscape photography cameras have most, if not all, the essentials you will need to bring your photos to life, but it’s still worth mentioning the basics before we dive in.
With that information out of the way, I think it’s essential for you to know that I shoot on Sony products. You may ask why. The reason is more straightforward than what you may think. Simply put, my friends shot on Sony, so having the same camera as them made sense because they were only a phone call away if I needed technical help or input on camera settings. It made sense for me to go the Sony route to give myself a leg up when I was perplexed about a situation about my camera. Below is a list of my current kit if you want to check these options yourself.
Sony A7S3 (Mostly for Video)
Sony A7R4 (Main Landscape Body)
Sony 16-35 GMII (Great for Wide Angle and Video work)
Sony 24-70GMII (My Favorite All Around Lens)
Sony 70-200 2.8 (Great for Isolating Subjects From a Distance)
Considerations for Camera Selection: With many camera options available in 2024, choosing the best one for landscape photography requires careful consideration of various factors. Here are some key aspects to keep in mind:
Sensor Size and Resolution: A camera's sensor size and resolution significantly impact its ability to capture fine details and maintain image quality, significantly when enlarging prints or cropping compositions. Full-frame cameras offer superior low-light performance and dynamic range, making them ideal for landscapes with demanding lighting conditions. However, advancements in sensor technology have also made APS-C and Micro Four Thirds cameras viable options, particularly for photographers seeking a lightweight and portable setup without compromising image quality.
Dynamic Range and Exposure Latitude: Landscape scenes often feature many tonal values, from deep shadows to bright highlights. Cameras with excellent dynamic range and exposure latitude preserve detail across the entire tonal spectrum, allowing photographers to capture scenes with high contrast accurately. Features such as HDR (High Dynamic Range) mode and advanced metering systems enhance the camera's ability to handle challenging lighting conditions, ensuring optimal exposure and tonal balance in every shot.
Weather Sealing and Durability: Outdoor photography subjects cameras to various environmental hazards, including rain, dust, and extreme temperatures. Opting for a weather-sealed camera with rugged construction ensures reliability and longevity, allowing photographers to venture into rugged terrain without hesitation. Additionally, ergonomic design and intuitive controls facilitate seamless operation in demanding conditions, enabling photographers to focus on capturing the moment without distractions.
Lens Compatibility and System Flexibility: The choice of camera system influences the selection of lenses, which are essential for achieving different perspectives and compositional techniques in landscape photography. Assessing the availability and versatility of lenses within a camera system is crucial for meeting the diverse needs of landscape photographers. Interchangeable lens cameras offer greater flexibility, allowing photographers to adapt to changing shooting conditions and explore creative possibilities through a wide range of focal lengths and aperture settings.
Budget: This is really where things get interesting. A typical setup of a single lens and body can run upwards of $5,000, so get what you can afford and try searching around for used options at reputable dealers to decrease the cost of entry into Landscape photography.
Choosing the best camera for capturing the beauty of nature's landscapes in 2024 requires a blend of technical prowess and artistic vision. By conducting thorough research and understanding your craft's nuances, you can confidently navigate the vast landscape of camera options, selecting the perfect companion for your photographic odyssey. Remember, the camera is not just a tool; it's a conduit through which you translate your passion and creativity into timeless works of art. So, embrace your journey equipped with knowledge, inspiration, and the perfect camera to capture the wonders that await. Which camera is the best? That’s not a question that can be answered. The best camera is the one you can afford, sorry for the let down.
How to take landscape photos for the beginner.
If you’ve just landed on this page then I want to take a moment to say a few very important items. Landscape photography is about being in nature and enjoying those moments under the stars or witnessing a beautiful sunset; remembering that when you get back to your computer to edit will make the process more enjoyable and continue to push you to create images that bring you joy. Landscape photography is about the moments in time, not the image itself; don’t forget that. I have spent several days, weeks, and months chasing down photos, and all that time was spent with friends and family. Those memories are worth more than any photo I’ve ever taken. Read on.
Whether you're a budding enthusiast or a curious beginner, mastering the art of landscape photography requires patience, dedication, and a keen eye for detail. In this comprehensive guide, I'll walk you through the essential steps to help you kickstart your journey as a landscape photographer, from understanding composition techniques to mastering camera settings.
Equipment Essentials:
While fancy gear can enhance your photography experience, you don't need the latest and most expensive equipment to capture stunning landscapes. A basic DSLR or mirrorless camera with interchangeable lenses will suffice.
Invest in a sturdy tripod to ensure sharp and steady shots, especially in low light conditions or when using slow shutter speeds.
Consider carrying a range of lenses, including wide-angle and telephoto options, to capture diverse landscape perspectives. Don’t go crazy on this one; there’s no way you can have everything all at once, and having the wrong lens will actually teach you more than having the right lens at every location.
For clarity, I shoot on Sony and started shooting on a Lumix GH5 that was eight years old when I bought it. My images are much better now, not just because of the camera but because I have learned a lot about taking bad pictures. I always tell people to take 1000 bad pictures first because you will have learned valuable lessons that a blog can’t teach you.
Scout Your Location:
Before setting out to capture landscapes, research potential locations and scout the area during different times of the day to assess lighting conditions and potential compositions. This may not be possible if you’re visiting or on a trip. I do my best to check a spot out before I shoot, but if not, I rely on Google to give me as much information on a location as possible.
Pay attention to natural elements such as leading lines, exciting textures, and captivating foregrounds that can enhance your compositions. This skill takes time, so don’t beat yourself up if you miss a good opportunity.
Understand Composition Techniques:
Familiarize yourself with fundamental composition principles such as the rule of thirds, leading lines, and framing to create visually engaging landscapes. Plenty of great videos on YouTube will provide you with in-depth information on these commonly used tactics.
Experiment with different perspectives and viewpoints, including low angles and elevated positions, to add depth and dimension to your images. Some of my best shots are taken from close to the ground. It sounds strange, but it adds interest to your image to see the world from just above the tall grass.
Use a subject. Using a subject to frame your shot can drastically change the outcome. Subjects can be anything: a person, a building, or a rock pile. Using the unique features of the landscape around you allows you to show more of the scene and create more drama within the frame.
Harness the Power of Light:
Light plays a crucial role in landscape photography, transforming ordinary scenes into extraordinary works of art. Learn to observe and harness the qualities of natural light, whether it's the soft glow of sunrise or the warm hues of golden hour. The most exciting and compelling landscape photographs I have seen or taken have been during these hours. The contribution of a golden light or a pink sky changes the scene dramatically. I suggest always using this to your advantage and practicing landscape shooting when the light is the softest and warmest.
Avoid harsh midday sunlight whenever possible unless you’re using that time to practice getting familiar with your camera. Daytime light is never a good time to take landscape photos. I cover this in more depth in my e-book, which you can download here for free.
One side note here. Shooting during the day is possible in the right conditions. Stormy days and cloudy days in the mountains can produce a dramatic scene that will look really good when you process your images.
Master Camera Settings:
Start by shooting in aperture priority mode (Av or A) to control the depth of field. This allows you to blur the background for a dreamy effect or keep everything in sharp focus. This is a common practice for anyone just getting started in landscape photography. I shot on aperture priority for over a year as I learned how my camera functioned. In the beginning, it’s okay to use functions like this to become familiar with shooting landscape photography. Using this technique will allow the camera to control everything else automatically, and you can control the depth of field and light with the aperture function.
Experiment with different aperture settings to find the ideal balance between foreground and background sharpness. An easy way to think of an aperture is a high F-stop, which will reduce light and allow more of the scene to be in focus. A low F-stop will increase the light and create a blurred background, keeping only the main focus point or subject in focus. Landscape photography is generally shot with a higher F-stop to allow a large scene to be entirely in focus.
Pay attention to your camera's metering modes and exposure compensation to ensure proper exposure, especially in challenging lighting conditions. This technique is a bit more advanced but worth noting for any beginner landscape photographer.
Fine-tune Your Focus:
Always use manual focus—that’s the big takeaway in this section. I highly recommend you use the peeking setting on your camera. Peeking is a setting all cameras have, and it overlays color on the screen to show you what is in focus. I use this every single time I shoot, and you should, too.
Focus will always be a top priority when shooting landscape photography. Having a beautiful scene that’s out of focus is a great way to ruin a day of shooting. I often find a composition, take several different shots to see what I like, and then zoom in on those shots in the camera to ensure perfectly sharp focus. I would suggest you get into the habit of checking your images for focus before calling it a day. Light changes fast, and missing a shot due to lack of focus is a huge bummer.
Experiment with Long Exposures:
Long-exposure photography adds a sense of movement and dynamism to landscapes, especially when capturing flowing water, moving clouds, or star trails. If you’re not at this point yet, that’s okay. The time will come for long exposures.
If you’re ready for long exposures, I suggest using a neutral density (ND) filter to reduce the light entering the lens. This allows you to achieve longer shutter speeds without overexposing the image. A 3-stop ND filter can get pricey, but generally, it will work for any beginner without breaking the bank. My choice for filters is Breakthrough Photography.
Post-Processing and Editing:
Once you've captured your landscape images, embrace the power of post-processing to enhance their visual impact. Adobe Lightroom and Photoshop offer powerful tools for adjusting exposure, contrast, color balance, and more. There’s so much to learn within these programs that it can overwhelm the beginner. Don’t let all the buttons and different options overwhelm you; start by moving the sliders around until you find something you like.
The only way to become proficient with Lightroom or Photoshop is to continue working at it and staying consistent. Luckily, YouTube has thousands of hours of editing tutorials to help you hone in on different skills and Ideas that will work with your images. I learned by watching YouTube and remaining consistent with my practice; I suggest finding a YouTube creator you enjoy watching and learning from them as much as you can.
Starting on the journey of landscape photography is a rewarding and fulfilling experience that allows you to connect with nature on a deeper level. By mastering the essential techniques outlined in this guide and embracing the creative process, you'll be well-equipped to capture breathtaking landscapes that inspire awe and wonder. Remember to stay curious, experiment often, and, most importantly, enjoy the journey of discovery as you explore the world through your lens. Nobody wakes up one day and becomes a professional landscape photographer; it takes time and dedication, which is hard for most people to keep up with. It’s ok if this process is slow for you and you don’t have hours a day to dedicate to the process. Keep showing up and spend time when you can on your craft, and I promise you will see results.
Until next time,
Josh
Mastering Color Theory: A Guide for Landscape Photographers
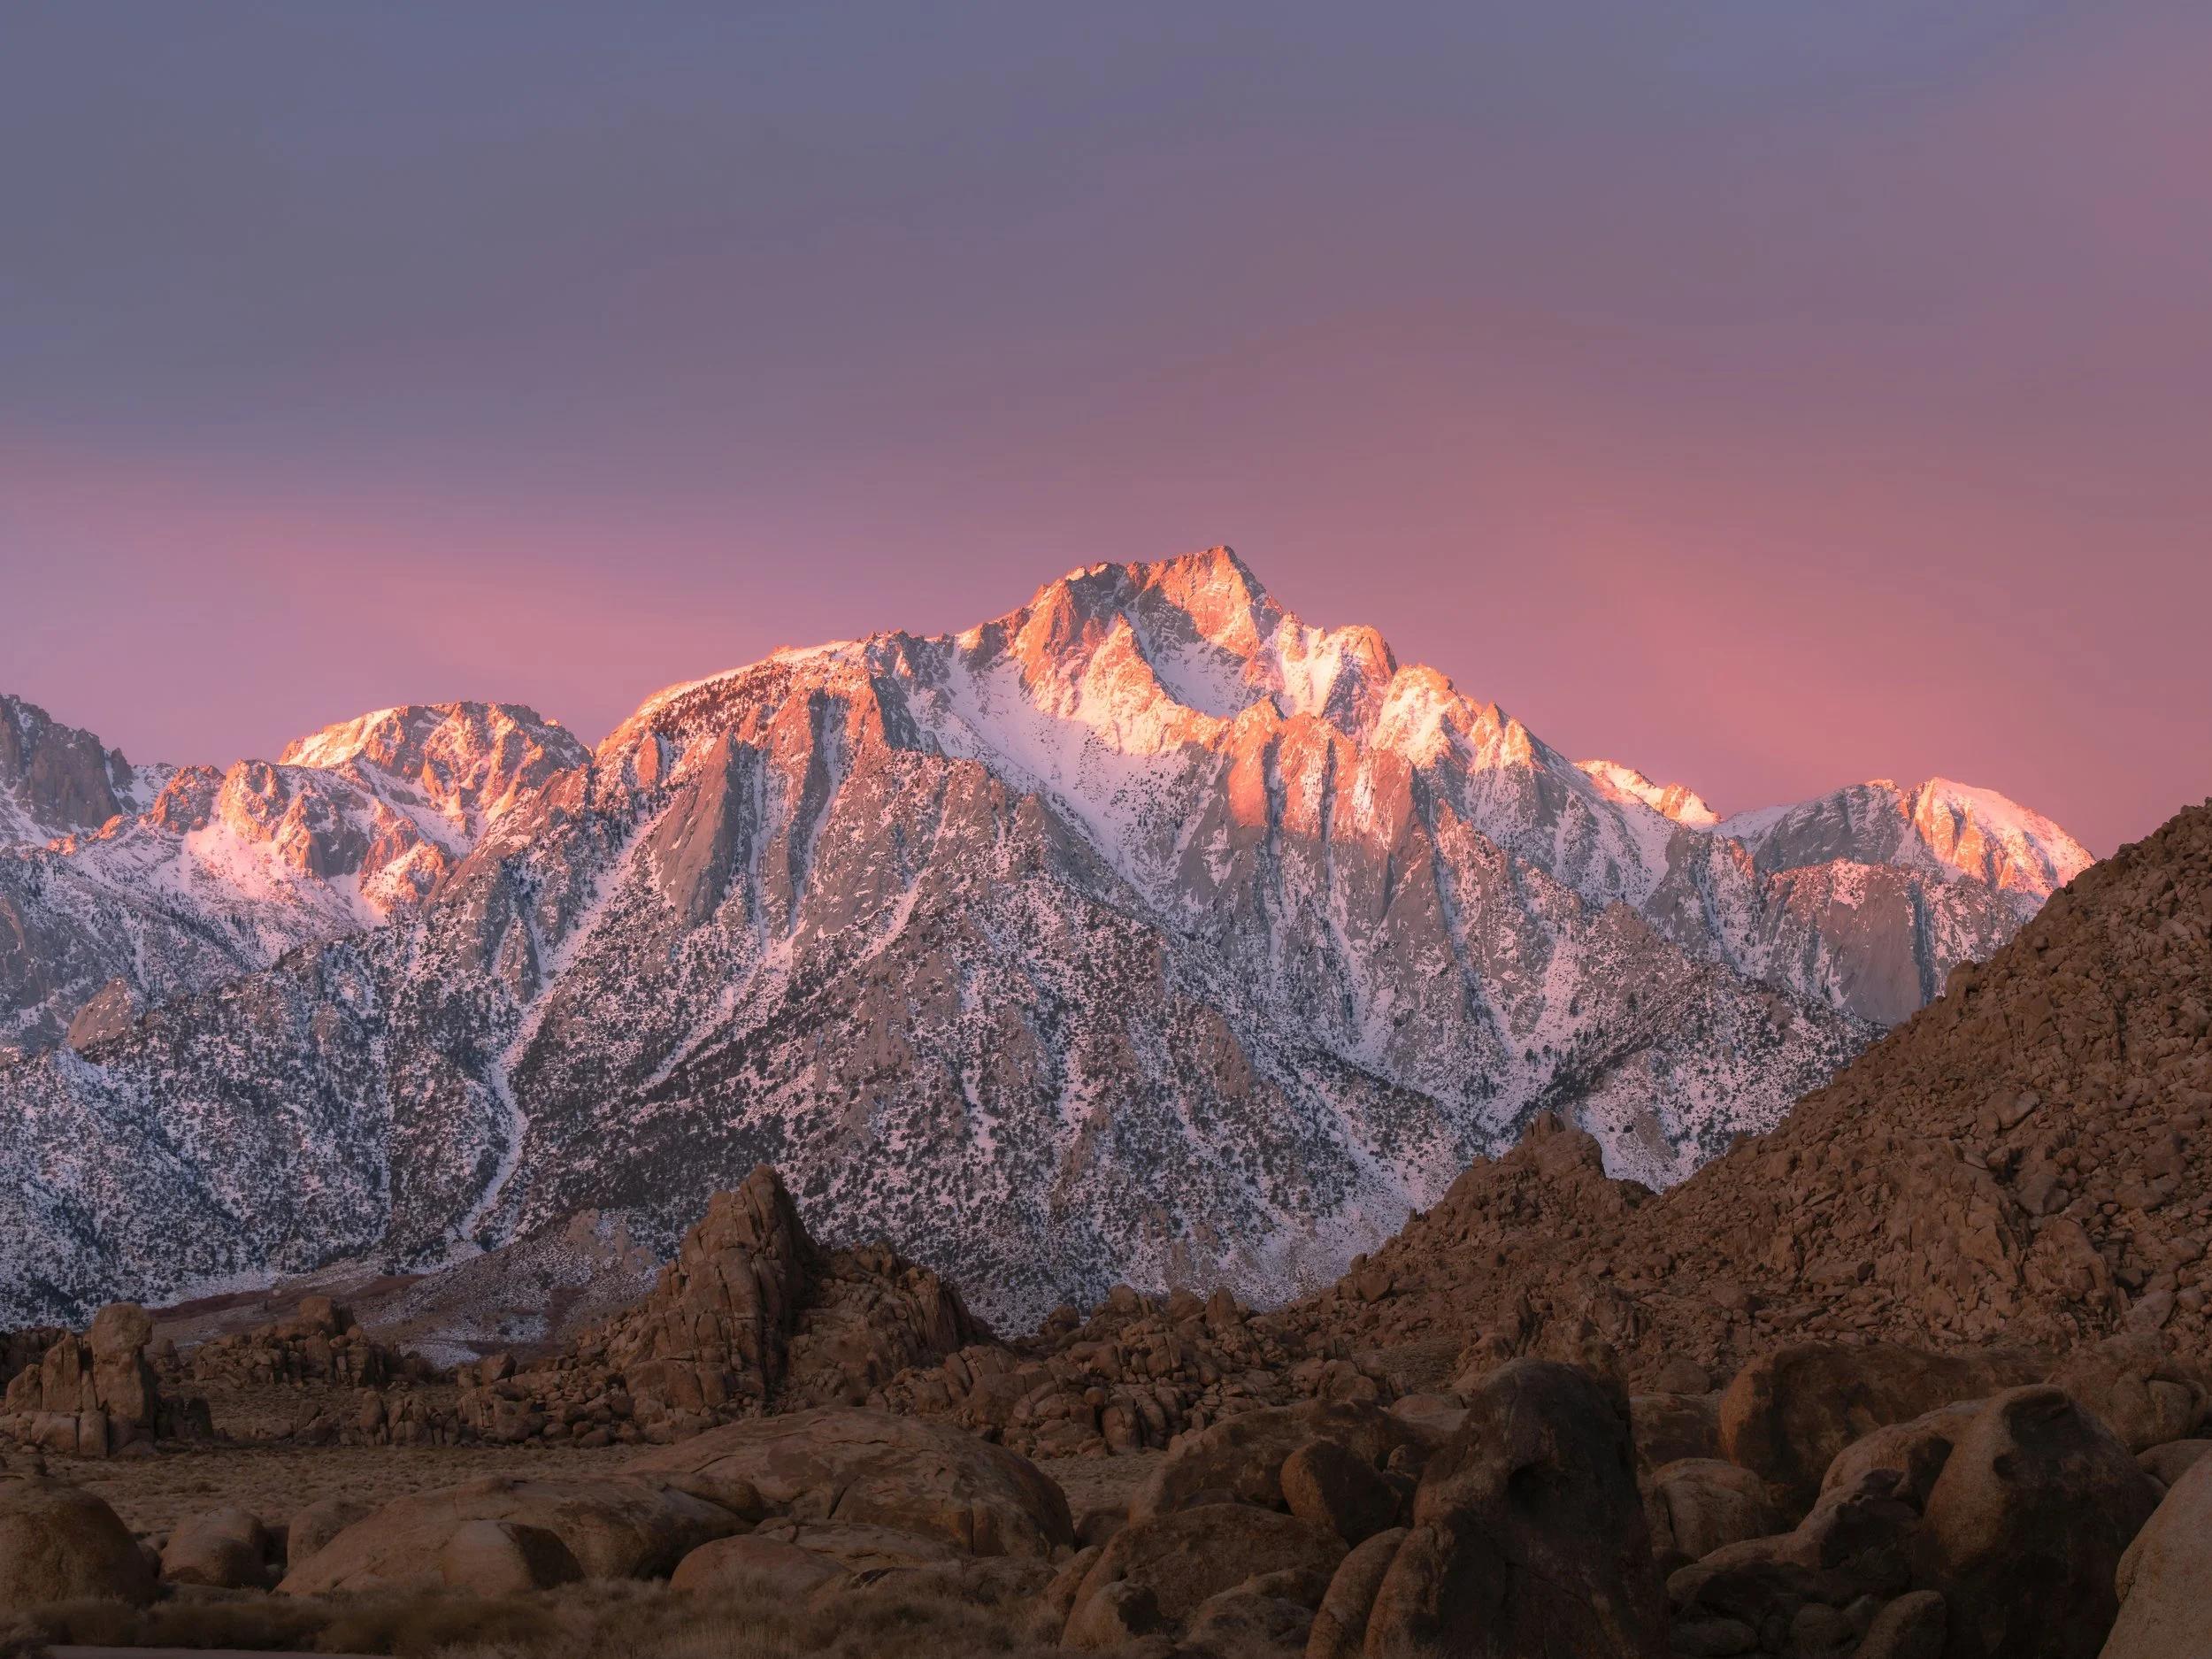
Sunset in Alabama Hills
Embarking on a journey into landscape photography can be both exciting and challenging, but understanding the fundamentals of color theory can significantly elevate your images. The world is a canvas of vibrant hues, and harnessing the power of color can breathe life into your landscapes. In this guide, we'll delve into the basics of color theory and explore how you can use it to enhance your photography and post-processing skills.
1. Understanding the Color Wheel
The color wheel is the foundation of color theory, offering a visual guide to the relationships between different hues. Photographers can make informed decisions about color combinations in their compositions by grasping the basics of primary, secondary, and tertiary colors. This knowledge empowers photographers to create visually appealing images by strategically selecting and harmonizing colors within their landscapes. In my free e-book, I provide more information about using color theory.
Consider exploring the psychological impact of colors as well. Each color evokes distinct emotions—reds and yellows can convey warmth and energy, while blues and greens often evoke tranquility and calmness. Awareness of these associations enables photographers to convey specific moods or atmospheres in their landscape images, adding an emotional dimension to their work.
2. Harmony and Contrast
Harmony and contrast are pivotal elements in creating compelling compositions. Harmonious color schemes contribute to a sense of balance and unity in an image. Analogous colors, found next to each other on the color wheel, create a soothing and cohesive visual experience. This can be particularly effective in serene landscapes, such as a peaceful sunset over a calm lake.
Contrast, on the other hand, injects dynamism and focal points into your compositions. You can create a striking visual impact by strategically placing complementary colors—those opposite each other on the color wheel. This technique is especially powerful when emphasizing specific elements within a landscape, such as a vibrant red barn against a lush green field.
3. The Impact of Color Temperature
Understanding the nuances of color temperature is essential for landscape photographers, as it profoundly influences the mood and atmosphere of an image. The golden hour, characterized by warm tones during sunrise and sunset, bathes landscapes in a soft, ethereal glow. This period allows photographers to capture the magic of changing light conditions, adding a layer of storytelling to their images.
Conversely, the cool light of early morning or late evening can create a serene, introspective mood. Being attuned to these shifts in color temperature allows photographers to adapt their compositions to the changing light, resulting in images that resonate with the viewer on a visceral level.
4. Post-Processing Techniques
Post-processing has become an integral part of a photographer's workflow in the digital age. Understanding color theory in post-processing enables photographers to fine-tune their images and enhance the impact of their compositions.
White Balance: Adjusting the white balance in post-processing allows photographers to correct or enhance the color temperature captured in the camera. This control over an image's overall warmth or coolness can be instrumental in conveying the intended mood.
Color Grading: Selectively adjusting colors in specific areas of an image enhances the visual hierarchy. This technique guides the viewer's gaze, ensuring that the most critical elements receive the attention they deserve.
Split Toning: Split toning allows photographers to independently add subtle color nuances to the highlights and shadows. This technique enhances the depth and mood of a landscape, creating a more nuanced and visually engaging photograph.
Vibrance and Saturation: Careful adjustments to vibrance and saturation levels enable photographers to fine-tune the intensity of colors. This control is crucial for avoiding overly saturated or muted tones, ensuring a balanced and visually pleasing result.
Conclusion
Mastering color theory as a landscape photographer is not just about creating aesthetically pleasing images; it's about conveying emotions, telling stories, and connecting with your audience on a deeper level. By embracing the principles of the color wheel, harmony, contrast, and color temperature, photographers gain powerful tools to elevate their craft. Experimentation with these concepts in both the field and during post-processing will lead to a more profound understanding of the art and science of color in landscape photography. Happy shooting!
How to use Lightroom for landscape photography.
Sunset over the Catalina Mountain Range
Embarking on the landscape photography journey can be both thrilling and challenging, especially when mastering post-processing tools like Adobe Lightroom. In this blog, we'll delve into using Lightroom for landscape photography and shed light on the importance of patience, practice, and perseverance in honing your skills. Remember this: we all started somewhere, and it’s essential to remember that the professionals you see on your Instagram feed have been working at this skill for many years. Photography is a true test of patience, and just when you think you “got it,” something will come along and change your mind. The absolute truth in this blog post that I want you to understand is that you will never be perfect or the “best,” but with time, you will exceed what you thought you were capable of. Keep showing up.
Embrace the Learning Curve:
1. Start with the Basics:
Begin your Lightroom journey by understanding the fundamental tools. Familiarize yourself with the exposure sliders, temperature adjustments, and cropping tools. Learning the basics lays a solid foundation for more advanced edits later on. Lightroom is constantly expanding its tools and adding new ways to improve your edits; trying to keep up is nearly impossible, but with time, you will develop your flow.
2. Practice Consistently:
Like any skill, mastering Lightroom requires consistent practice. You can use time regularly to edit your landscape shots. Experiment with different settings; don't be afraid to make mistakes – it's all part of the learning process. The practice also pertains to using your camera. In my e-book, I dive into three topics I wish I had paid more attention to when I started. The e-book is free and can help you understand a few simple items I found necessary while learning.
The Art of Patience:
3. Understand the Power of Presets:
Don't be discouraged if your initial edits don't match the breathtaking landscapes you admire. Embrace Lightroom presets as a starting point. They can inspire creativity and provide a glimpse into the possibilities of your images. That said, I don’t believe presets are a tool to use while learning. You must first understand how to edit your photos and the tools within Lightroom before you can use presets to your advantage. Presets can become a crutch for people just starting, and I recommend waiting until you have a base set of skills before using them in your landscape photography photos.
4. Take Breaks and Reflect:
Landscape photography is a journey, not a race. Take breaks to step back and reflect on your progress. Use this time to appreciate how far you've come and identify areas for improvement. One way I do this is to review and re-edit photos I’ve had on an old hard drive that I’ve previously edited. Looking at your work side by side is a great way to reflect on your progress as a landscape photographer. Not only can it be the proof you may need to see actual growth, but it can also encourage you to keep going when you go through the dreaded artists’ slump. When I have those moments of uncertainty in my work, I look at some of the first pictures I edited, and it all becomes clear.
Overcoming Discouragement:
5. Comparison is the Thief of Joy:
Resist the temptation to compare your work to others. Each photographer has a unique style and a different journey. Instead of feeling disheartened, use others' work as inspiration to fuel your growth. Again, you must remember that some people have been at this much longer than you have. Try to avoid the comparison metric to gauge your skill, and put your current work up against your old work to see where you’re at vs. where you’ve been. This is much harder to do than it sounds.
6. Constructive Feedback Matters:
Seek feedback from fellow photographers or online communities. Constructive criticism can be a powerful tool for improvement. You can use it as a guide to refine your skills and enhance your understanding of Lightroom. Don’t be afraid to ask people what they think of your work or what they would have done differently. I have some photographer friends who blow me away regarding their skills, and asking them is hard to do. Even if you don’t have friends with greater skill, you can still ask others for honest input. Remember, art is subjective, so regardless if people like it, you have to ask yourself if you like it because that truly matters.
The Road to Mastery:
7. Learn Advanced Techniques:
As you become more comfortable with the basics, explore advanced techniques such as graduated filters, radial filters, and luminosity masks. These tools can elevate your landscapes to new heights. If this sounds foreign to you right now, that’s ok. These advanced techniques take time to learn and will play a role later. My point is never to stop learning and trying to improve your skills.
Mastering Lightroom for landscape photography is a journey, not a destination. Embrace the learning curve, be patient with your progress, and celebrate small victories. By staying committed to practicing and refining your skills, you'll discover your unique style and create stunning landscapes that reflect your passion and dedication. Keep shooting, keep editing, and most importantly, enjoy the process!
Top Three Landscape Photography Locations in Death Valley National Park
Mesquite Sand Dunes
If you’re anything like me, you have spent countless hours surveying the internet to find the best information possible about photography in a National Park. We’ve all seen those incredible shots from a photographer that leave us speechless. We wonder exactly where that was taken and how much the conditions played a part in the overall image.
Death Valley National Park is a breathtaking location for landscape photographers and everyday hobbyists. The biggest issue some have is knowing when and where to be so they can take full advantage of their skill. Death Valley has been on the yearly travel agenda for several years. We take advantage of the warm winter days and early sunsets to enjoy what this National Park offers. We stay away from here in the summer due to the extreme heat and unforgiving sun. Either way, you choose, Death Valley has some of the most beautiful landscapes you could imagine. Here is our top three favorite places to photograph when we visit Death Valley National Park.
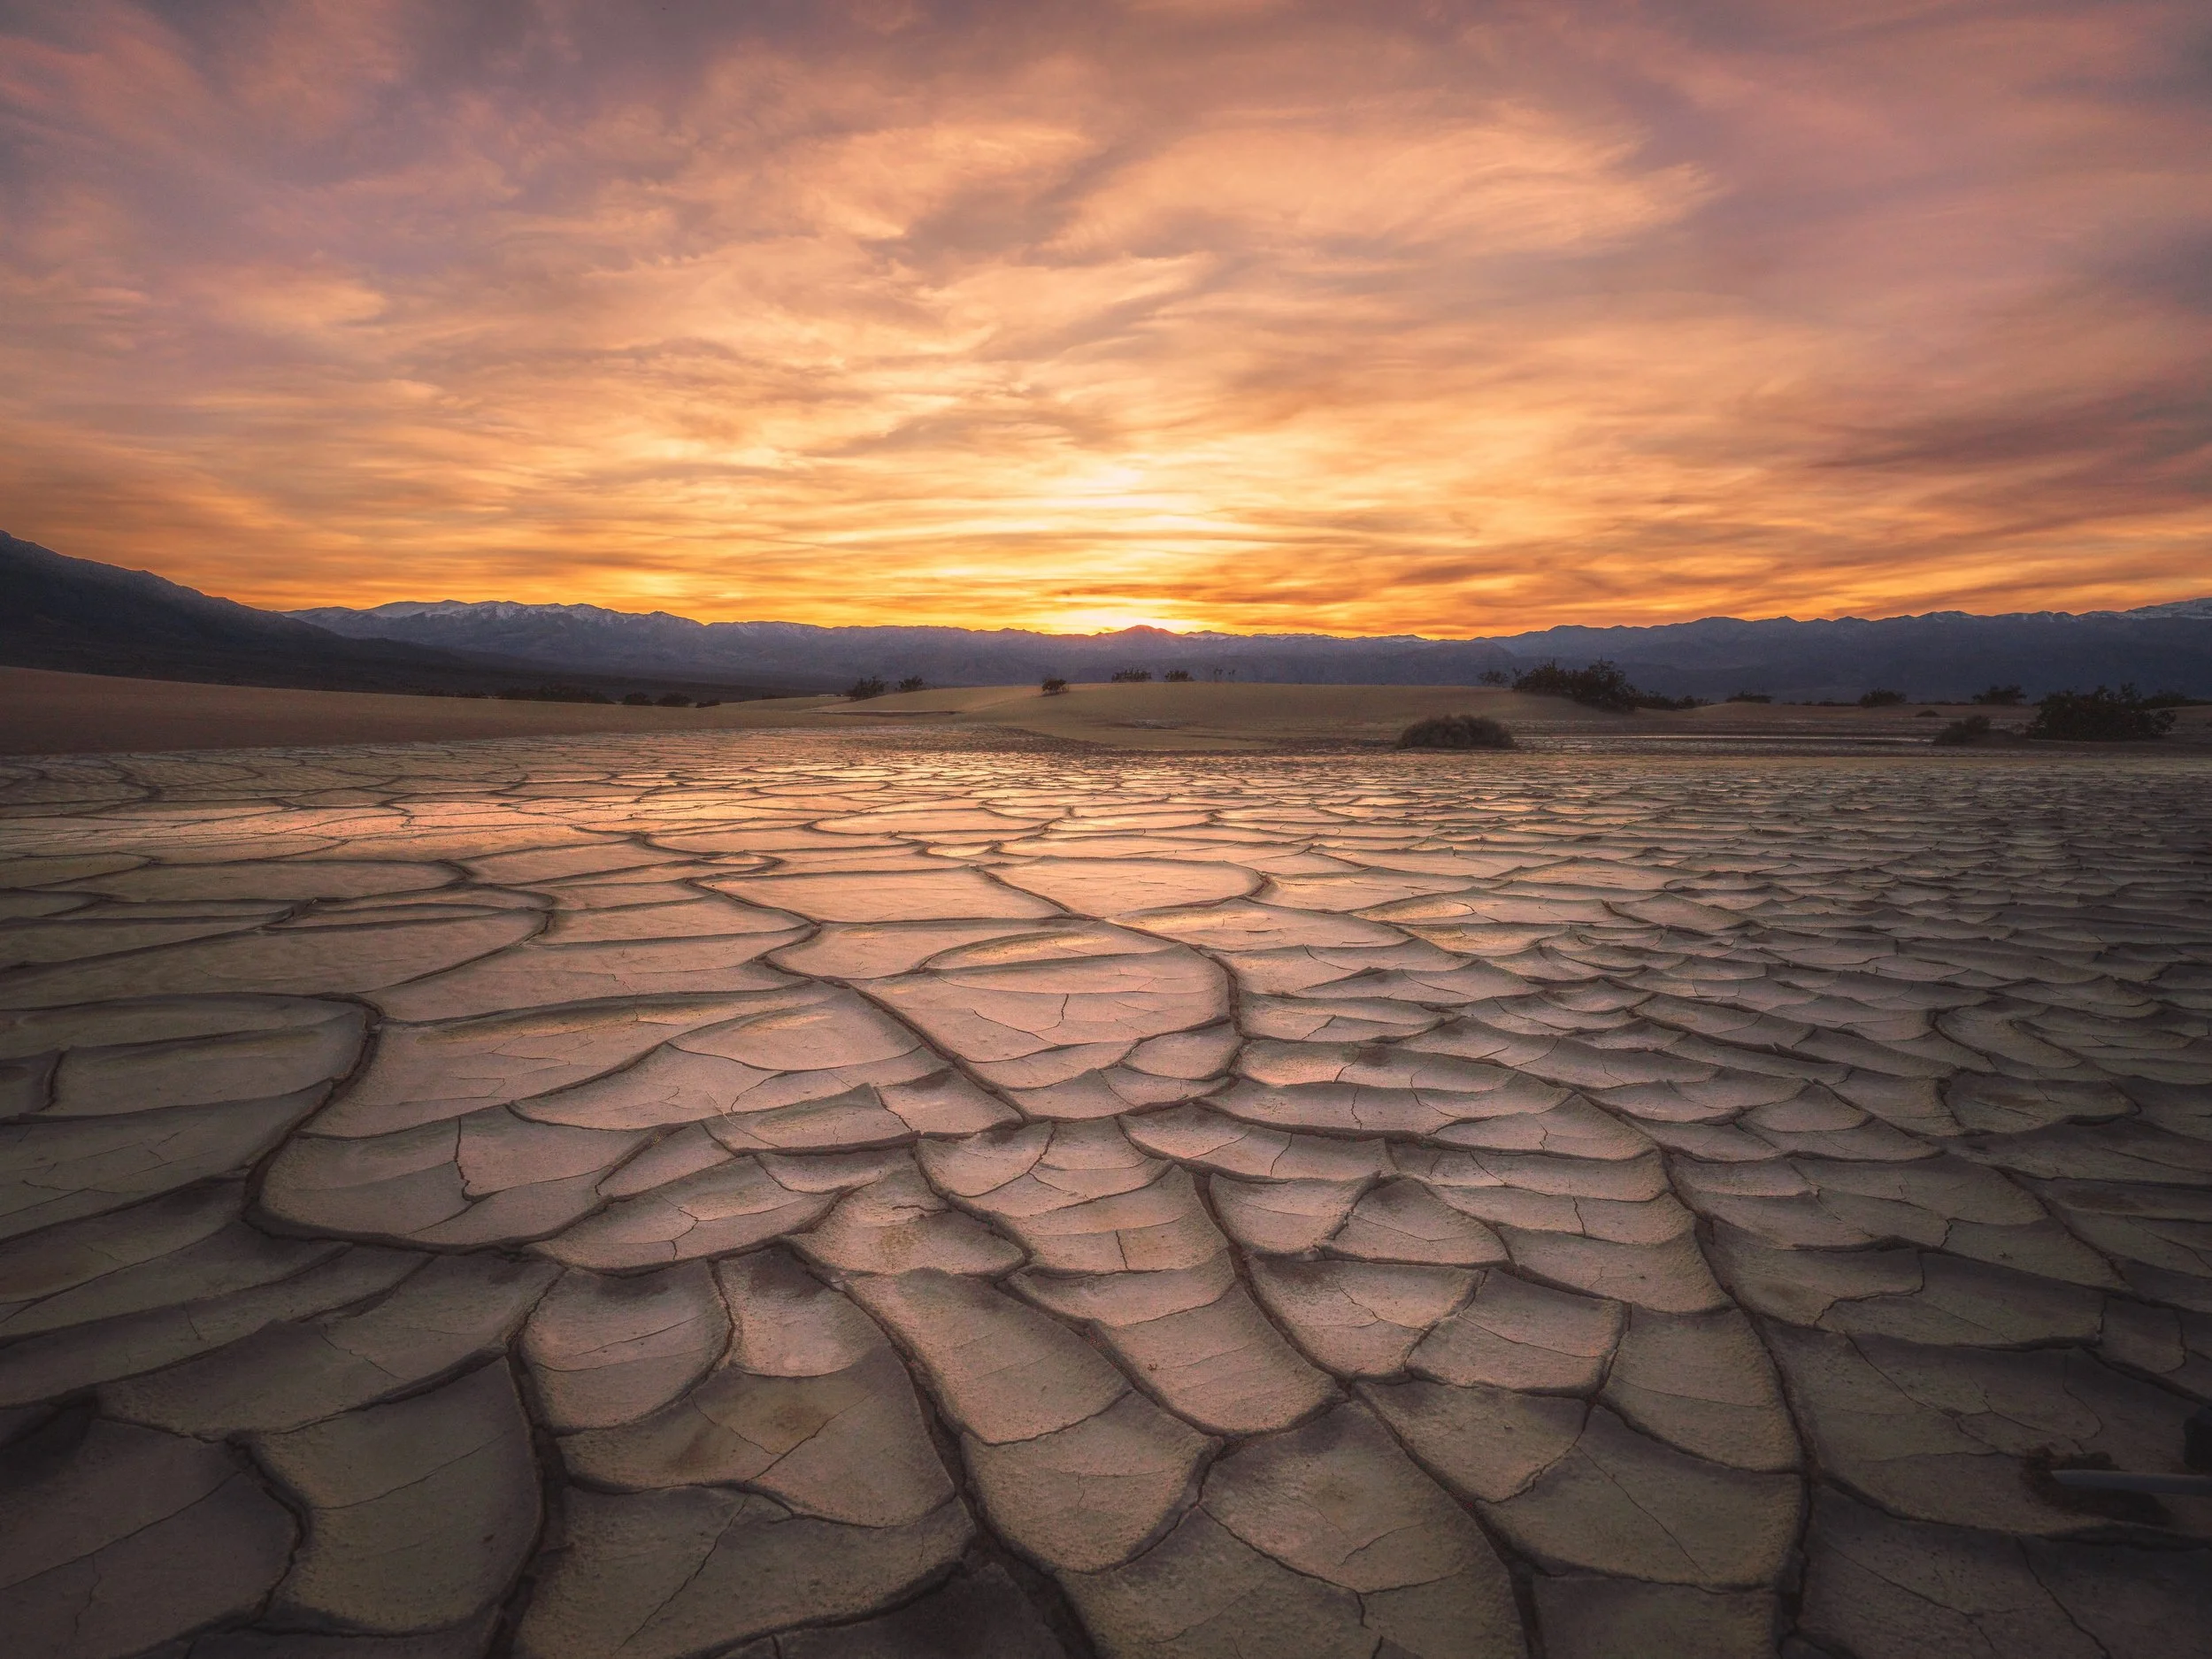
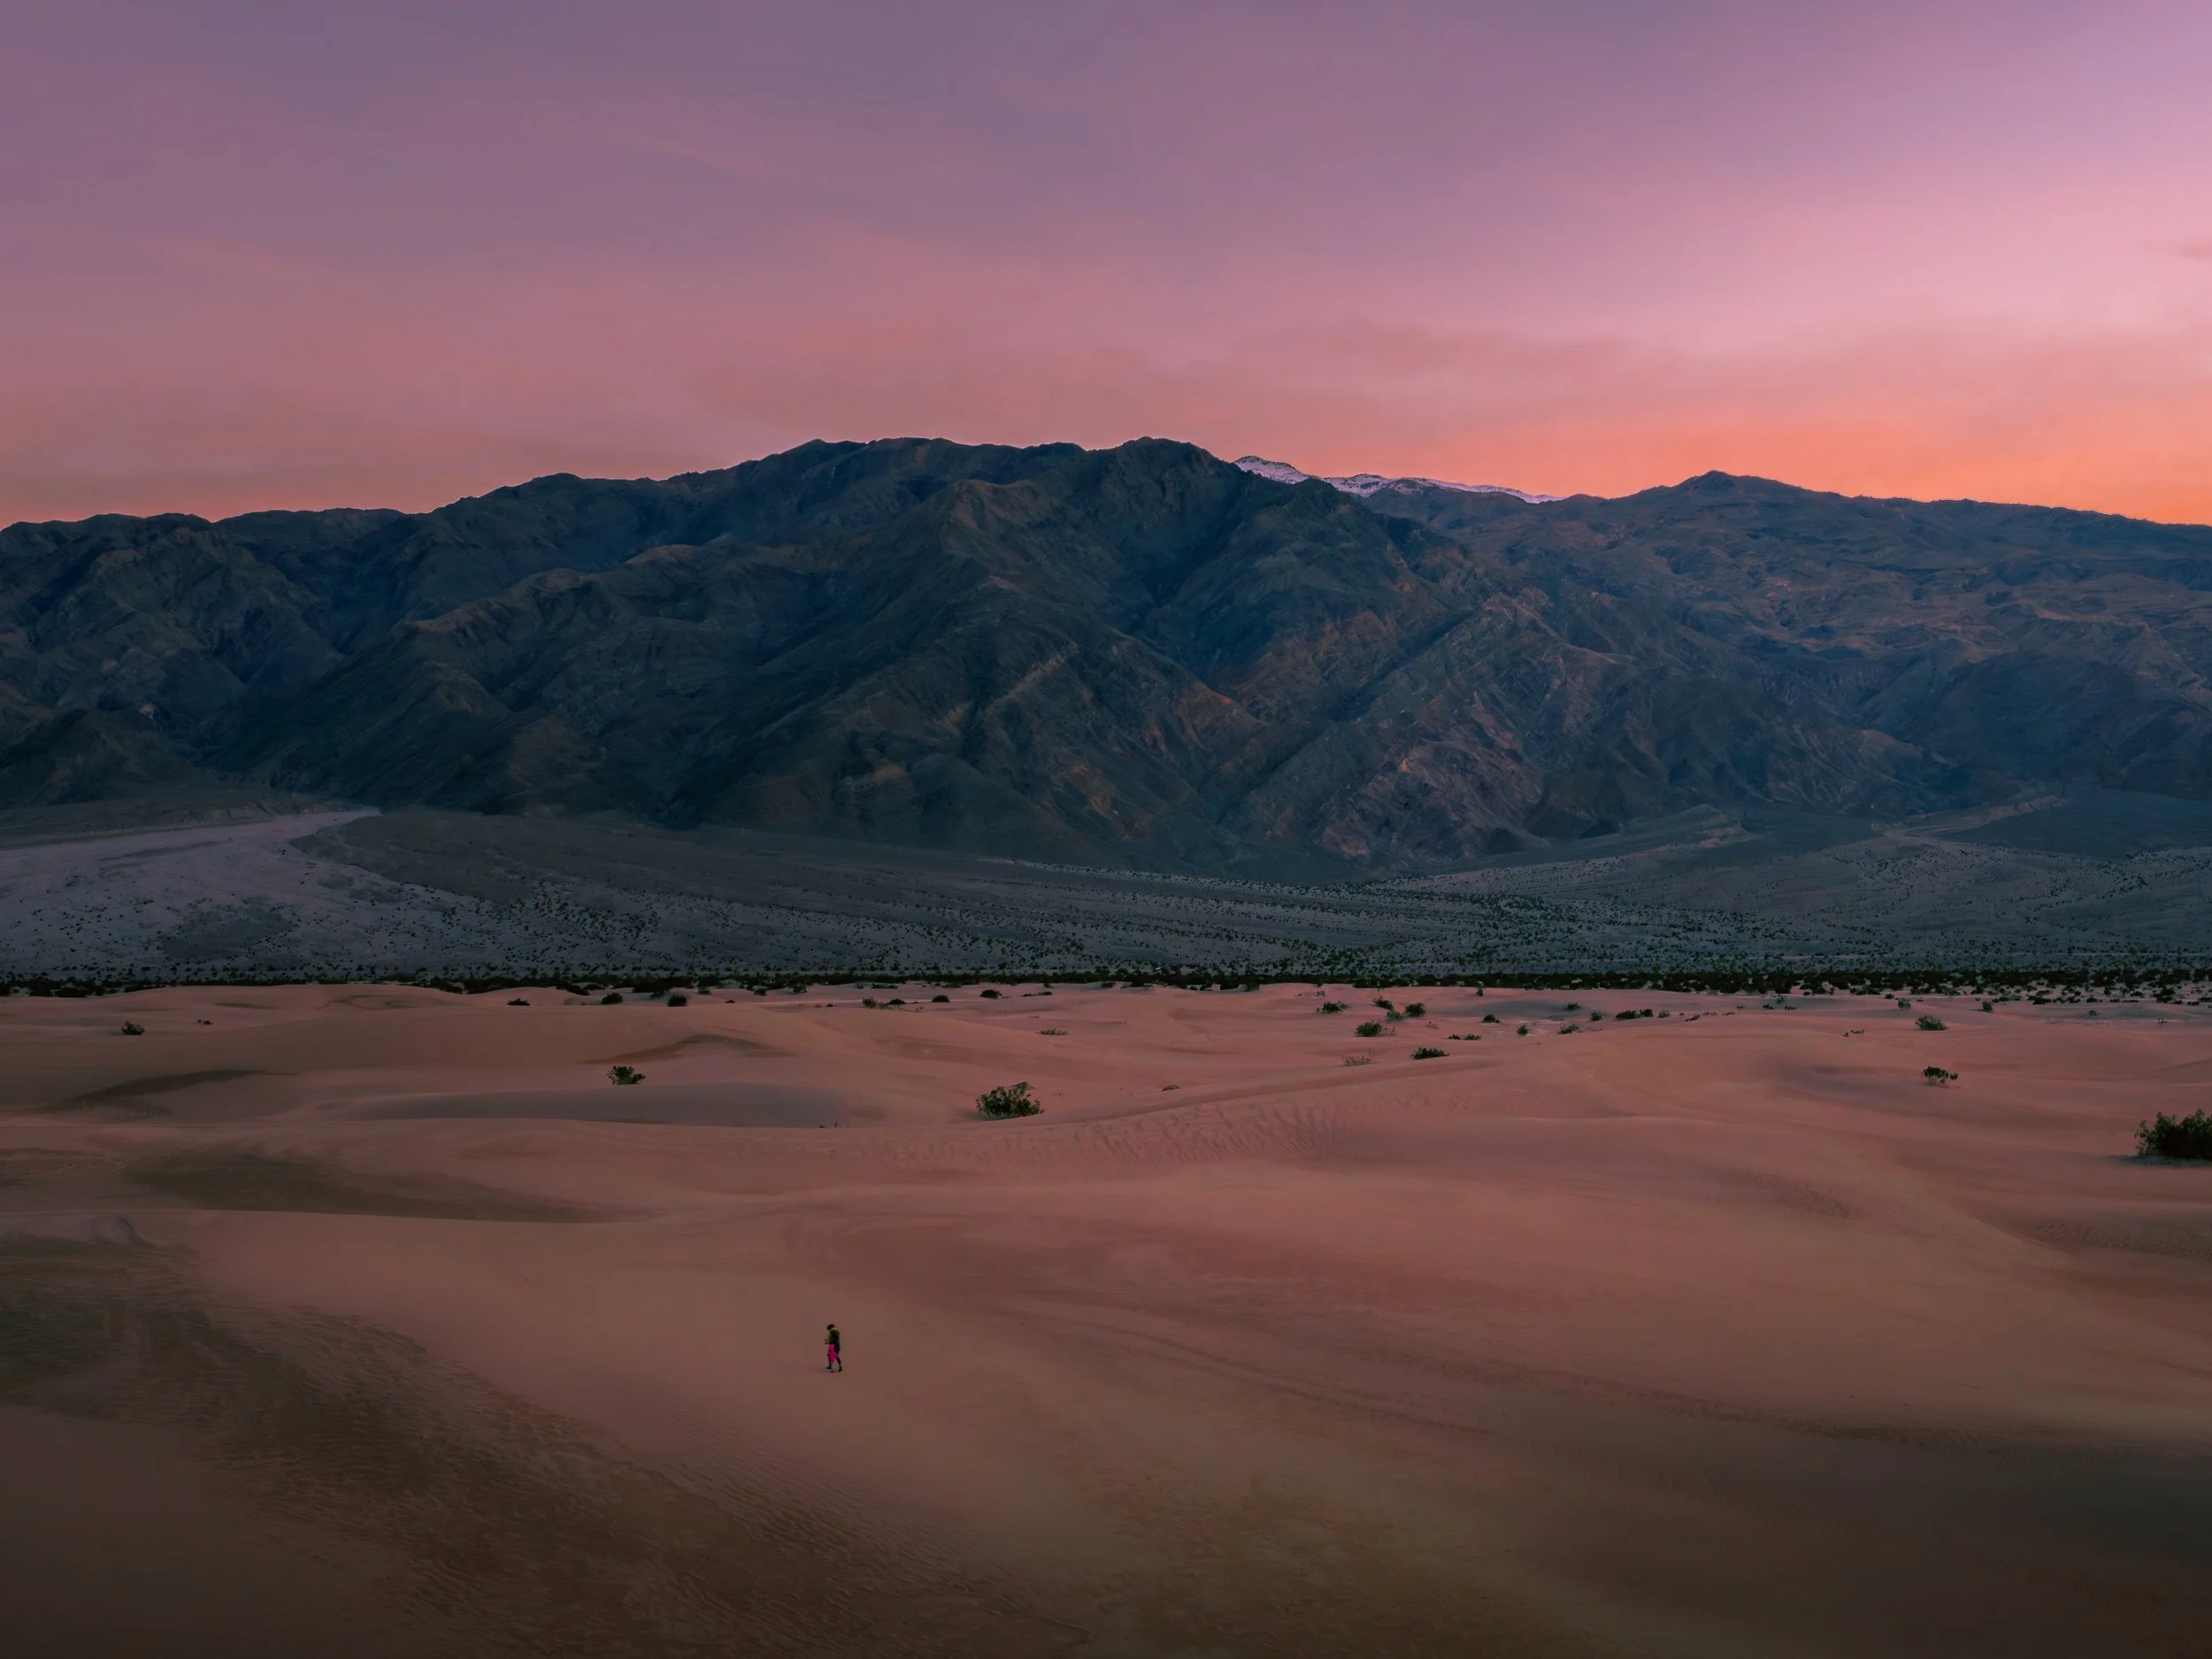
Mesquite Sand Dunes
Mesquite Flat Sand Dunes in Death Valley National Park is a captivating canvas for landscape photographers, offering a unique and ever-changing environment that captivates the eye. The dunes stretch across the valley floor, creating a mesmerizing play of light and shadow as the sun moves across the sky. The soft, wind-sculpted ripples on the surface of the sand create dynamic patterns that add a sense of texture and depth to photographs. During sunrise and sunset, the dunes come alive with a warm, golden glow, casting long shadows and enhancing the dramatic contours of the landscape. The stark contrast between the dunes' smooth curves and the surrounding mountains' jagged peaks further contributes to the visual appeal, providing photographers with a diverse range of compositions.
Moreover, Mesquite Flat Sand Dunes offers a sense of isolation and tranquility, providing photographers with a serene and unspoiled natural setting. The minimalist beauty of the vast, uninterrupted dunes allows for a focus on composition and the interplay of light and shadow. The ever-changing patterns and textures of the sand and the absence of vegetation and human structures create an otherworldly atmosphere that transports photographers to a timeless and remote landscape. The dynamic nature of the dunes, shaped by the constant winds in the region, ensures that all visits will yield different photographic opportunities, making Mesquite Flat Sand Dunes an enticing destination for those seeking to capture the essence of nature's beauty through their lens.
2. Bad Water Basin\Lake Manly
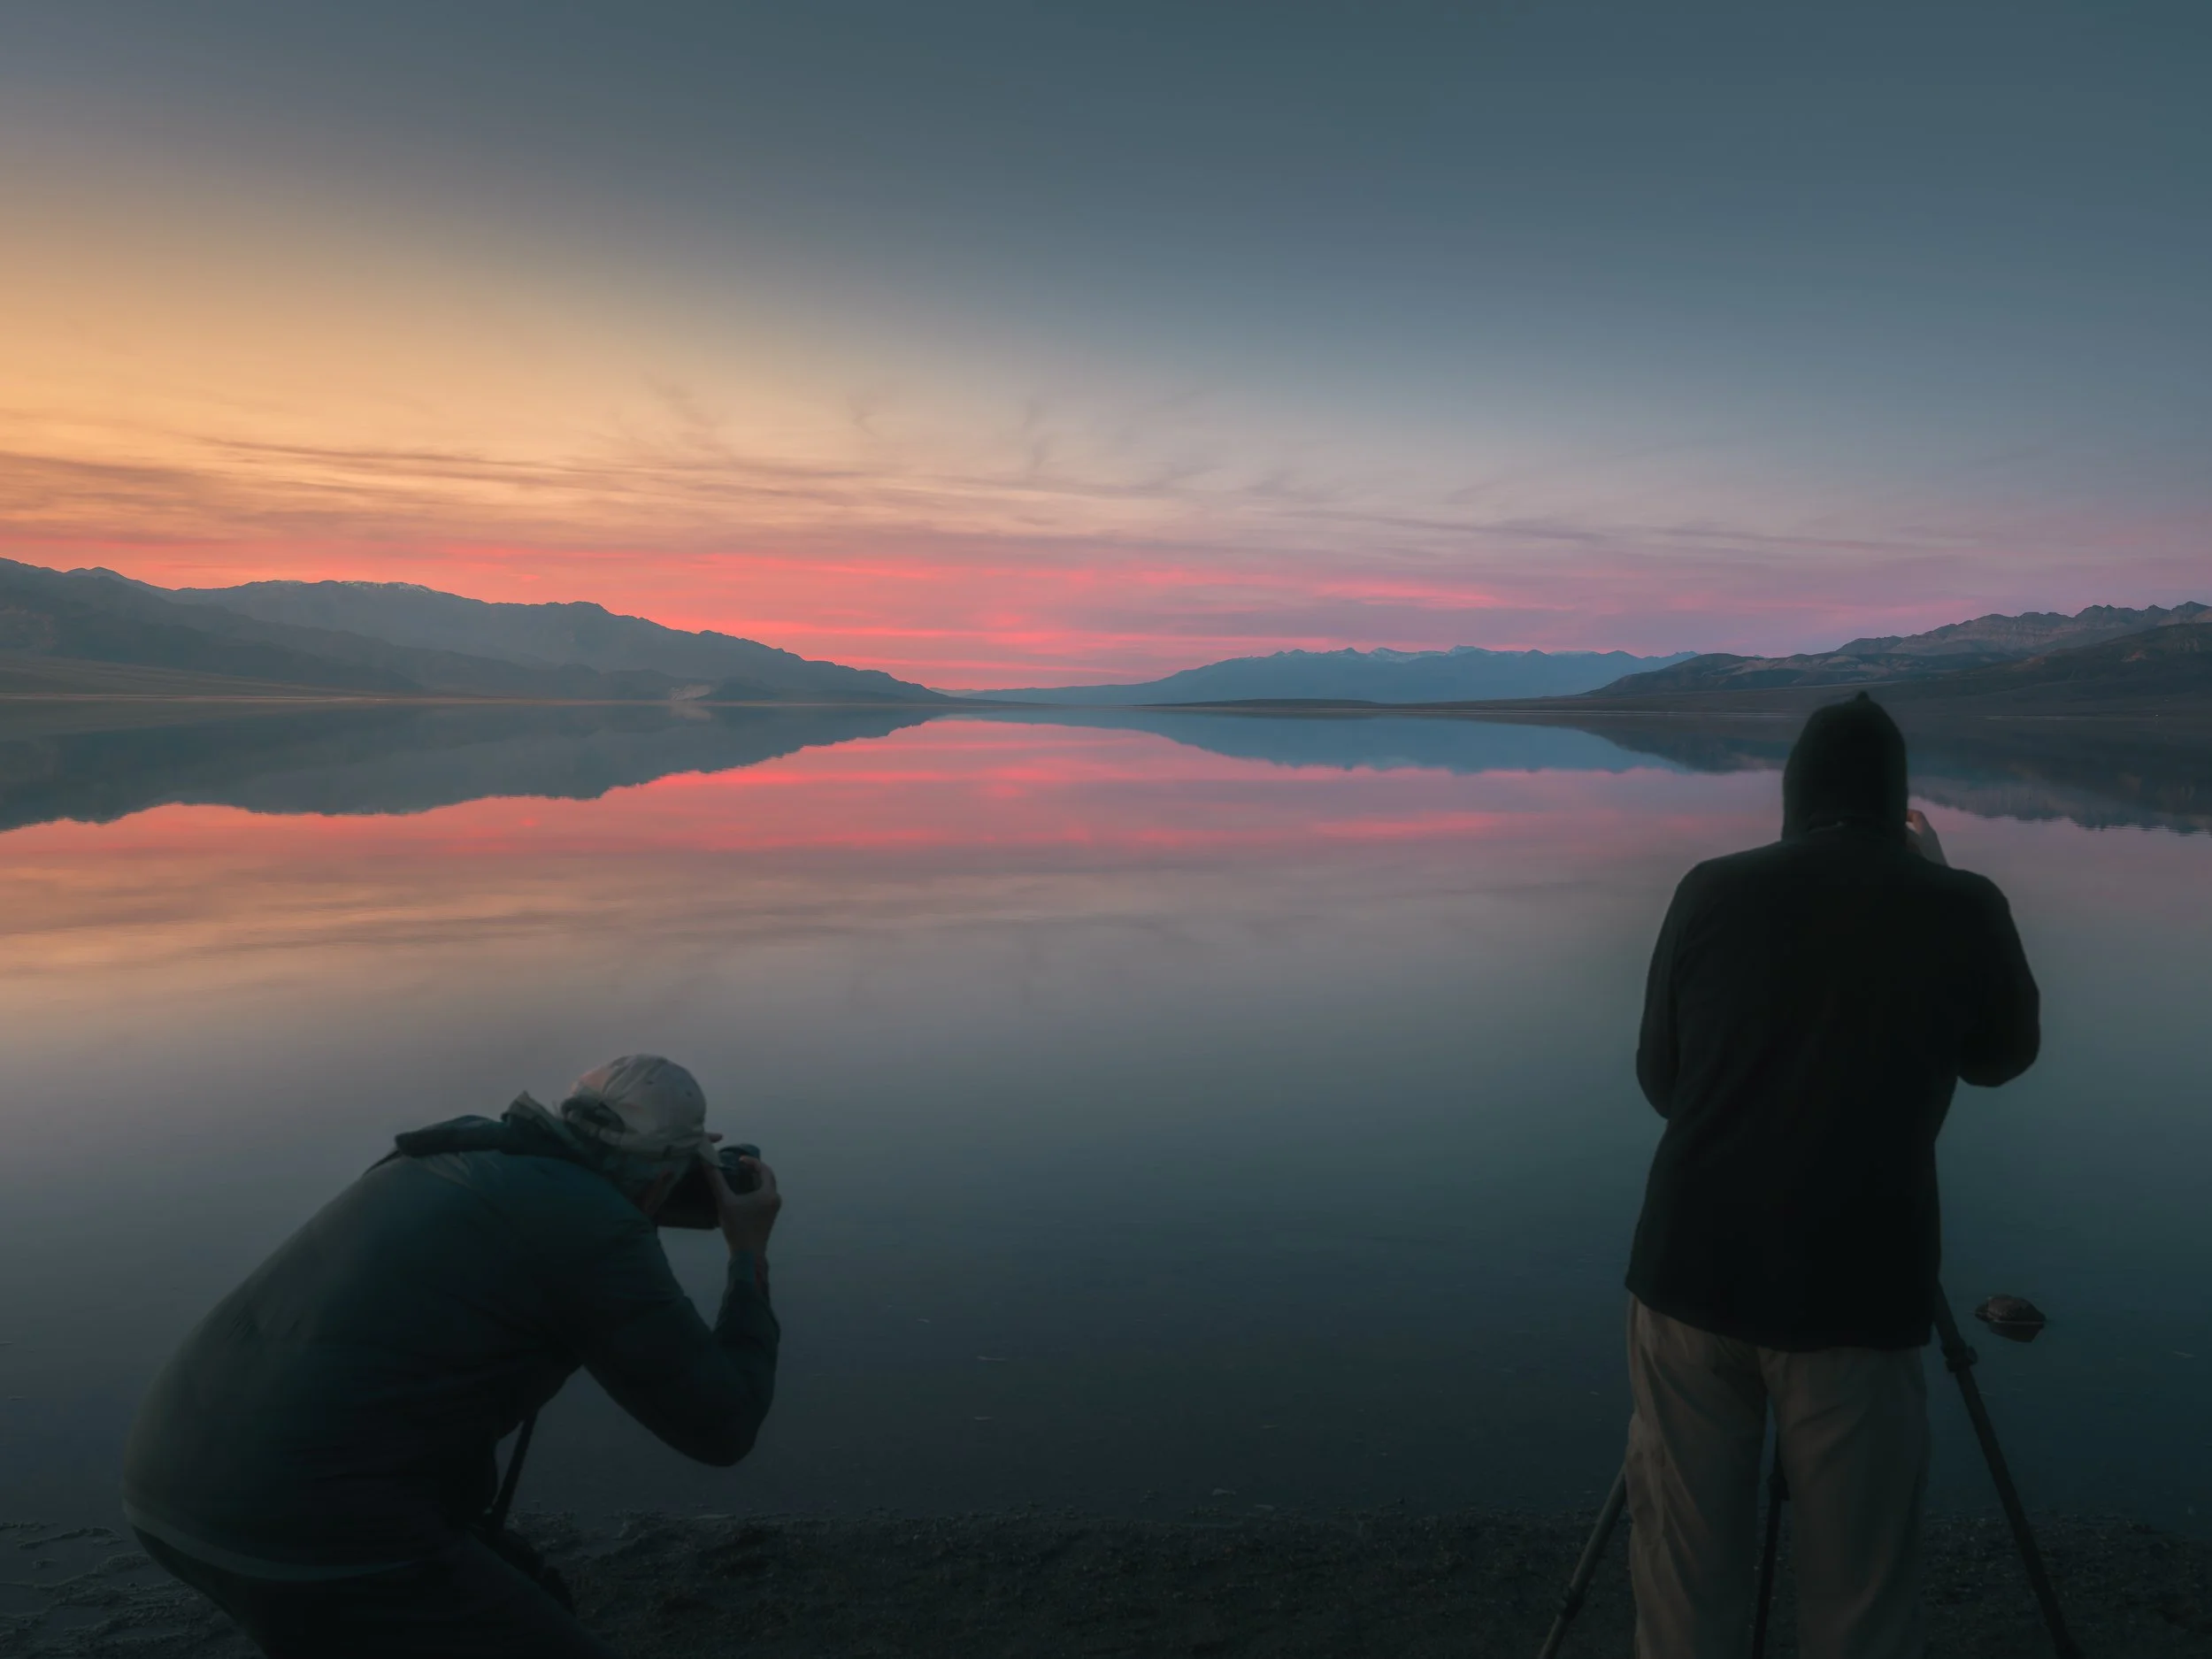
Lake Manly
The presence of a temporary lake in the arid landscape of Death Valley adds an unexpected and surreal element to the scenery. Photographers can capture the reflections of surrounding mountains and features in the water, creating mirror-like surfaces that enhance the visual impact of the landscape.
The juxtaposition of a lake in the desert, born from the rare occurrence of significant rainfall, allows photographers to document a fleeting moment in time. The play of light on the water's surface, especially during sunrise or sunset, can produce breathtaking and ethereal scenes. The dynamic nature of this phenomenon, with the lake appearing and disappearing based on precipitation levels, adds an element of unpredictability and makes Manly Lake a captivating subject for landscape photographers seeking to capture the ever-changing beauty of Death Valley National Park.
3. Zabriskie Point
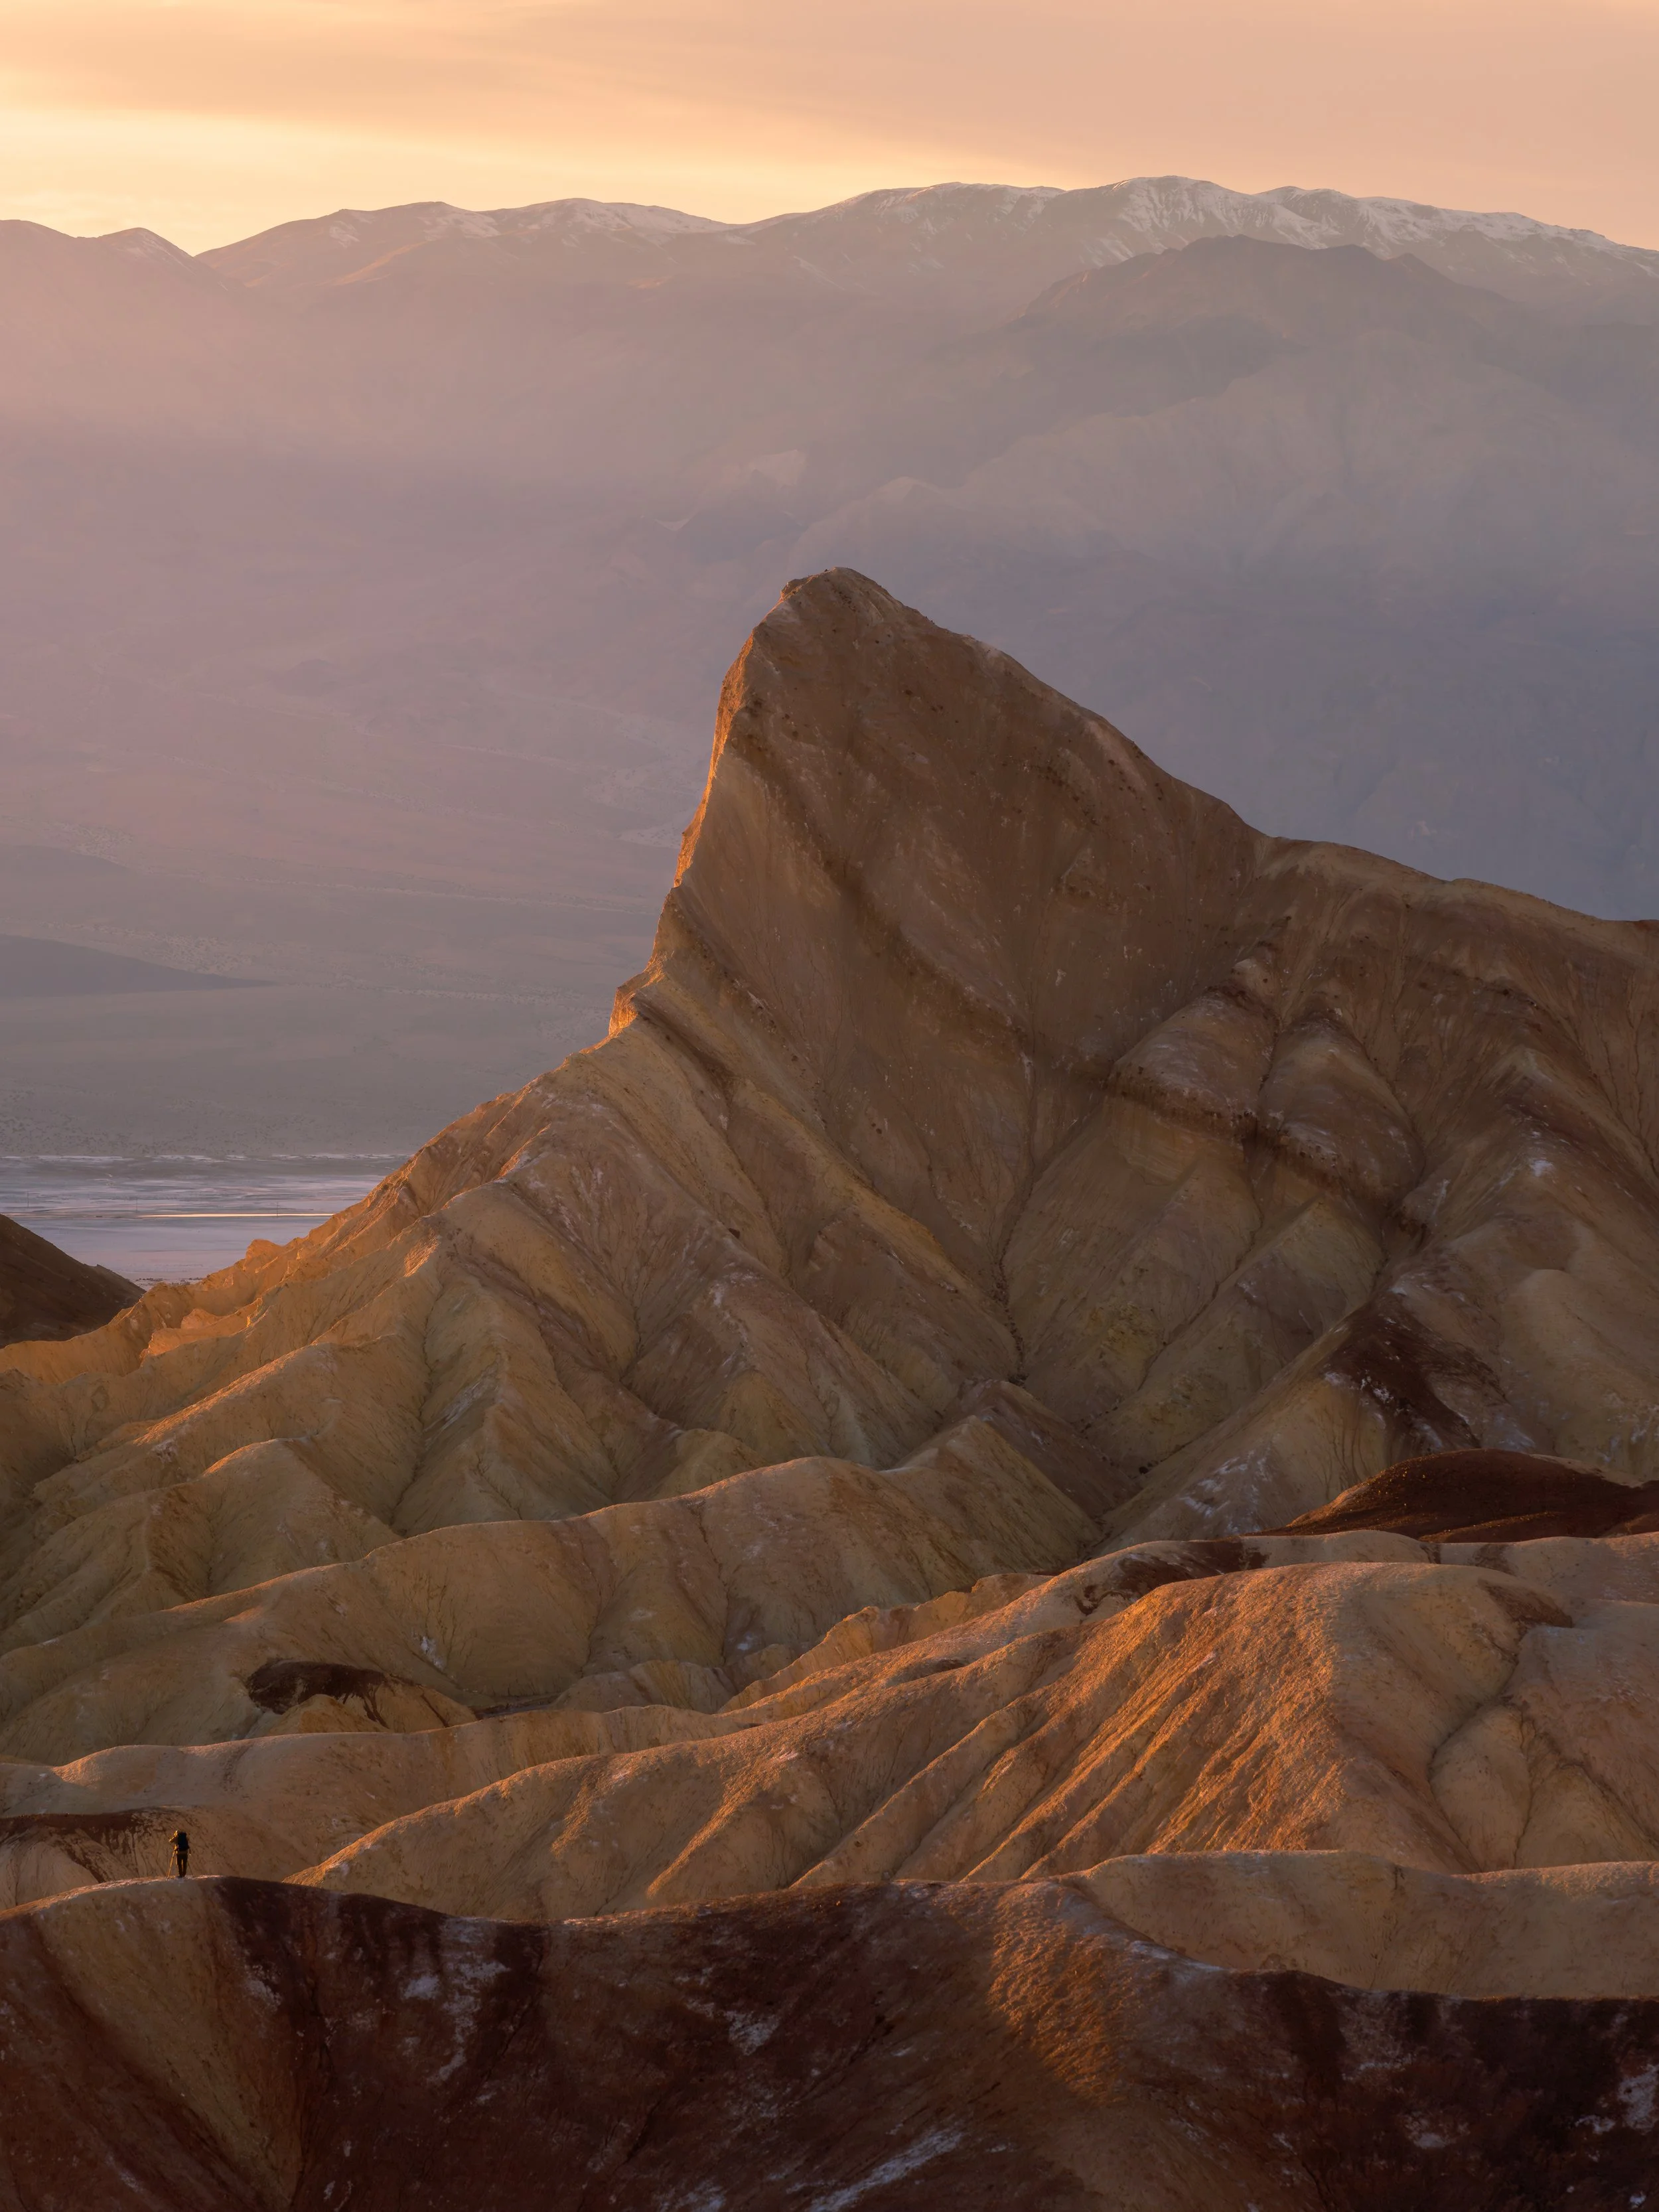
Zabriskie Point at sunset
Zabriskie Point in Death Valley National Park is an iconic and unparalleled destination for landscape photographers, offering a dramatic and surreal panorama of the park's unique geological features. Renowned for its stunning vistas of the Amargosa Range and the Furnace Creek Badlands, Zabriskie Point provides an elevated perspective that showcases the intricate play of light and shadow on the eroded landscape. During sunrise and sunset, the colors of the surrounding rock formations transform, painting the terrain in vibrant hues of red, orange, and purple, creating a breathtaking visual spectacle that is a dream for any photographer seeking to capture the magic of the desert.
The textured and undulating badlands at Zabriskie Point present many compositional opportunities. The intricately carved ridges and the layered sedimentary rock formations provide a dynamic foreground against the expansive backdrop of Death Valley. The interplay of light and shadow on the rugged terrain accentuates the details, creating a three-dimensional quality in photographs. Additionally, the panoramic view from Zabriskie Point encompasses vast expanses of the valley floor, allowing photographers to capture the grand scale of Death Valley National Park and emphasize the sheer magnitude of its geological wonders. Zabriskie Point is a quintessential location for landscape photography, offering a harmonious blend of natural beauty, captivating colors, and unparalleled vistas.
These are our top three most photogenic landscape photography locations in Death Valley National Park. Remember, Death Valley is the largest national park in the lower 48 states, with 3.4 million acres. There are far more opportunities for landscape photography than what’s on this list, but this is a fantastic place to start as you get your bearings in this incredible wasteland.
Photography Changed Me
Five years ago I picked up a camera for the first time. My reason for doing so was not because I thought I would end up where I am today in my photography journey, but because I wanted to challenge myself to do something hard, that I knew would take years to develop any real skill. I started because I decided to start a YouTube channel surrounding adventures that I was taking in my wife’s Jeep. The thought was simple, I already go on adventures, and I want to learn more about photography, videography, and editing, so the next logical step was to embark on a new venture that would force me to stay the course for a long period. The reason that the last part of the previous sentence is important is because my life has been all about “on to the next” thing, no matter what the subject. I knew that this new venture would force me to stick with it because abandoning it would be so publicly obvious, so in a sense, it was a strange form of accountability I had to myself to not do what I’ve always done and move on to the next shiny hobby when it presents itself.
Fast forward five years and I still live with a camera in my hand. I’m writing this at 7:13 am on a Friday after getting up early for sunset and driving to the mountains to be greeted with a sign that read “Mountain Access closed” because of the bad weather we got last night. Photography changed me.
You may ask why it changed or maybe even how, the small paragraph before would resonate with people who know me because I’m not what you would consider an early bird. I like to do life on my terms and do it when it’s convenient, but with photography, the weather and the conditions dictate your schedule, not you. That’s a smaller less important part of how and why photography changed me, a larger example would be my passion and love for the outdoors. My entire life has been in a city. I grew up in a large city, I moved away to a larger city, and I moved back to a city. I didn’t go camping or on a hike for almost 15 years of my life, it wasn’t important and I didn’t see the value. It wasn’t until I went climbing with a friend of mine named Ben that things started to settle in.
I was going through an extremely rough time in my life, it was all existential, and everything wrong was in between my ears, but I felt lonely and lost even in a sea full of people. I’ll never forget the moment of wading through cold waste deep water in my underwear carrying my stuff over head and making it to the rock face. We got our gear on and Ben started climbing. After I finally made it to the top and sat up there looking out at the Forest I realized that in the moments of clinging to the wall trying with all my might to make it to the top, I never had a thought about anything else except staying alive and completing the objective. That may sound dramatic, but that’s what it felt like and I remember being free of my burdens and thoughts, everything was still, I was at peace.
Although that experience was profound, it wasn’t until I met my wife that things changed for me. After 6 months of dating she and I took a trip. We went to Havasu Falls deep in the desert of the Grand Canyon. This was a 10-mile hike, one way, in the dead of summer to spend three days sleeping in a small tent next to the most spectacular blue water I have ever seen in my life. If you’ve never heard of this magical place, I suggest you look it up. This trip opened my eyes in a new way. The landscape, the solitude, the curiousness of nature, it all happened there.
Years later, I chose to live with a camera within arms reach 24/7. I never thought I would be good enough to call myself a photographer. I never even knew what that meant or how to achieve that label. What I realized along the way is that the label just comes after you decide to accept it. To be a photographer doesn’t mean you have to get paid to do the job or hobby. To be a photographer simply means that you have a passion for the art and you’re willing to pursue that passion no matter what. My mentality towards chasing the things that inspire me runs deep. That passion is what has brought me to the spot where I am today in various aspects of my life. I truly enjoy grabbing my camera and heading to the mountains, but not just for the images, for the immersion in the experience of nature that my camera has led me to. Yes, this is a passion I’ve turned into a paying job, but the day I feel like I’m working will be the day I stop carrying a camera.
The point is, that photography opened my eyes to a world that exists outside of myself. Nature doesn’t care about you or your problems, you have to adapt to it, nature doesn’t adapt to you. The world in which we live is often manicured in a way to make us comfortable and keep us content. The wilderness has none of those comforts, which forces you to adapt your senses, skills, and ideas, to accommodate it. This idea isn’t a novel one. Some of the most grounded humans on the planet exist in a world that seems so foreign to most. Photography took me to a place and forced me to become in tune with parts of my mind that I had abandoned for almost two decades. Somehow, while achieving my personal goals in photography I found a piece of myself that I didn’t know existed. I’m writing this feeling humbled and thankful for the time you spent reading and I hope that this resonates with you and pushes you to pursue the thing that forces you to grow.
Until next time,
Josh

